Kiyeovo - a decentralized peer-to-peer messenger
How to use the app & optionally self-host your own Kiyeovo bootstrap, relay and ICE servers
Intro
Kiyeovo is a P2P messenger that has 2 network modes: Fast and Anonymous. Fast uses the clearnet and should be used for day-to-day activities - it also enables audio/video calling. Anonymous routes the whole traffic through Tor - slower, but stronger anonymity.
Some of the features include:
- realtime direct messages are end-to-end encrypted
- messages can fall back to offline delivery when the other side is not online
fastmode is for normal day-to-day use: lower latency, relays, and 1:1 audio/video callinganonymousmode is for Tor-routed messaging. Better anonymity, but slower and less convenient- group chats, encrypted file transfer, and trusted profile import/export
- no central account or message server; you can use the default bootstrap/relay setup or self-host (see the guide in the “Bootstrap and relay nodes” section)
But, you can read all about that on my Github page, here.
In the next chapters, I will show you the basic usage, and how to self-host. Let’s begin.
Basic usage
After you have cloned the app, you need to run npm run setup inside the app directory. In case you do not plan on using the anonymous mode, npm install is sufficient.
Now, all you need to run is npm run start:local, and the app should start up. In case you also want to find & report bugs, run npm run start:local:debug so that you can provide logs.
If the app has started successfully, you should see this: 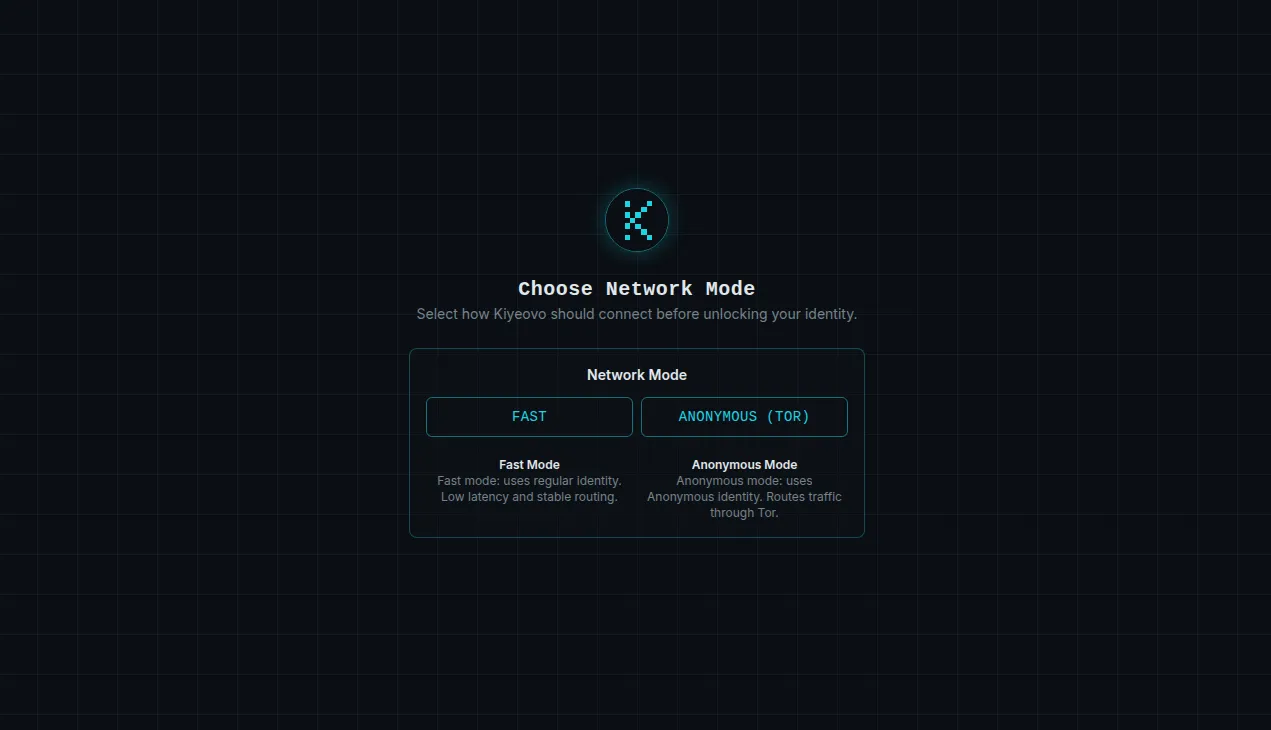
Let’s try out the fast mode first! Select FAST and create an identity - just input the password, optionally remember it if you have a keychain installed on your machine, and PLEASE write down the recovery phrase. If you lose your password, only the recovery phrase can help you.
The app should look like this now: 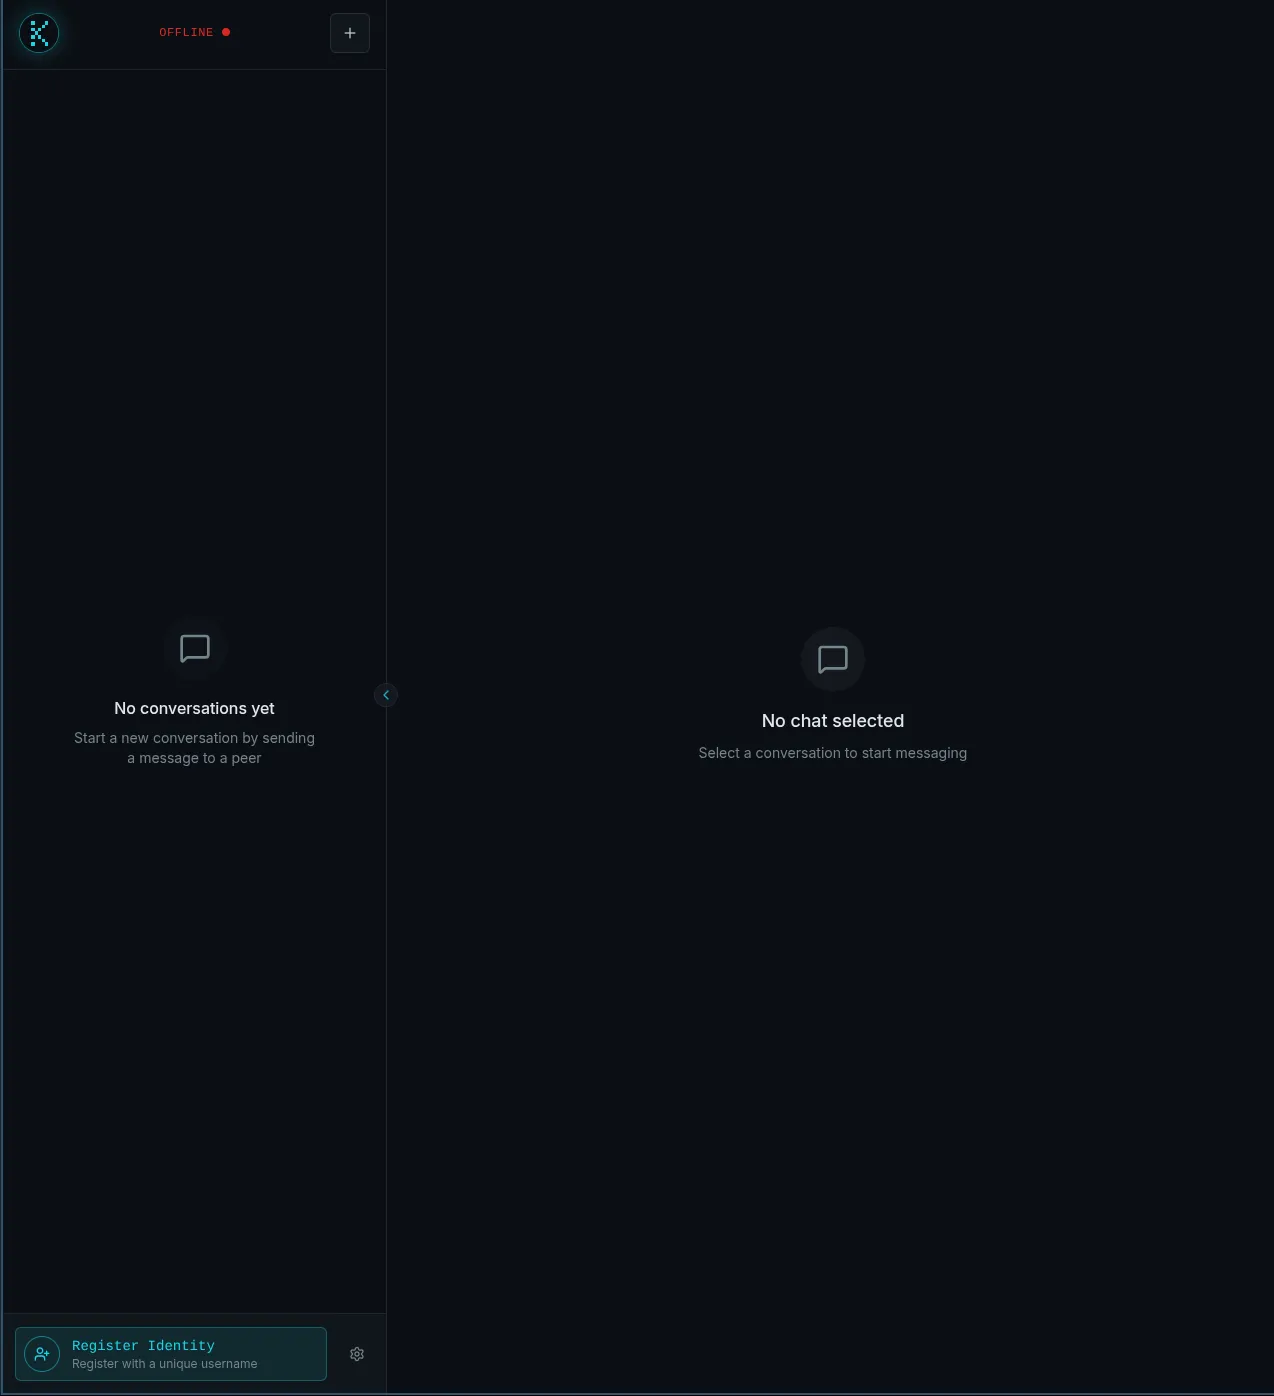
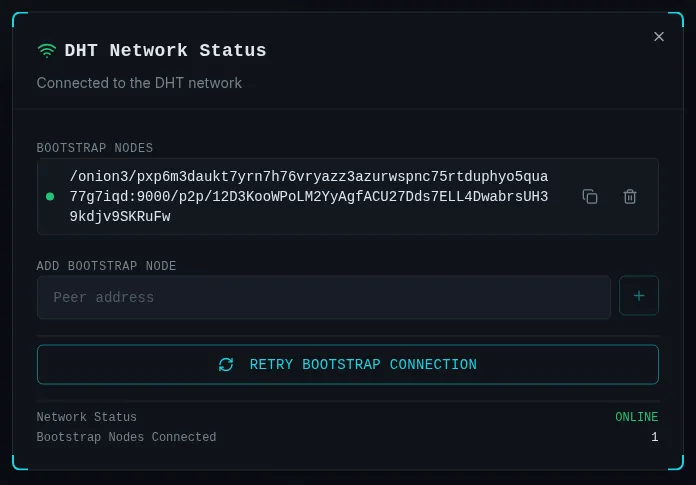
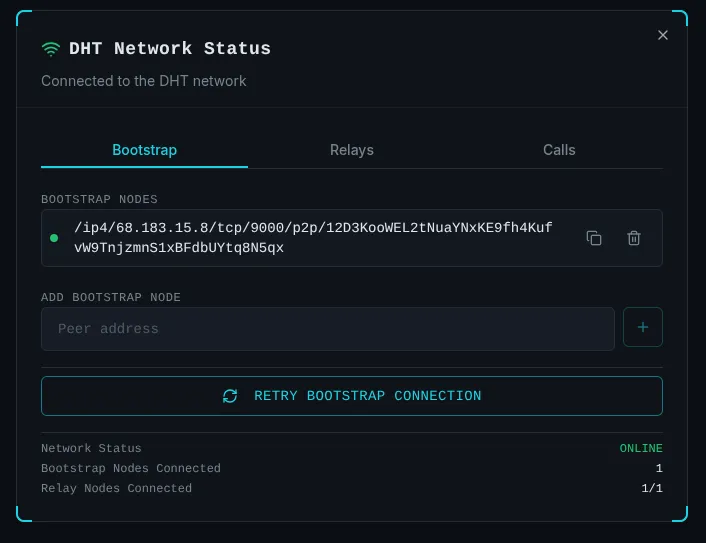
Let’s try to connect to a bootstrap and relay nodes so that I can talk to somebody. Click on the connection status and type in the bootstrap address (if you’re reading this before April 19th 2026, you can even use one of mine). After you “Retry bootstrap connection”, it should look like this:
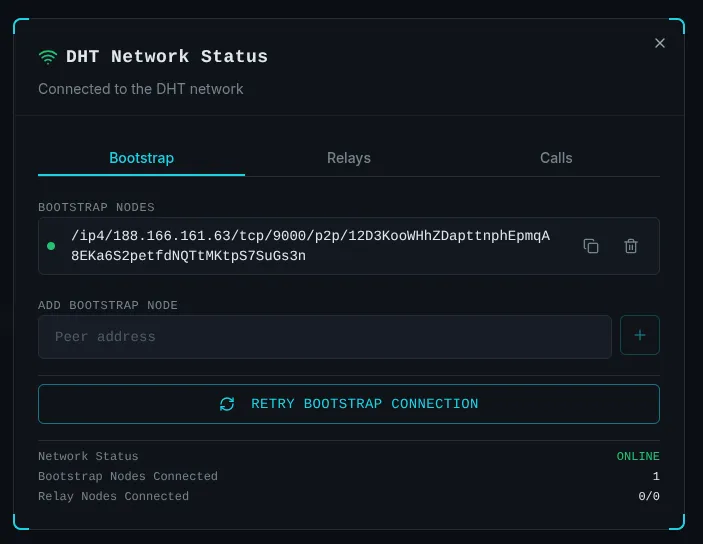
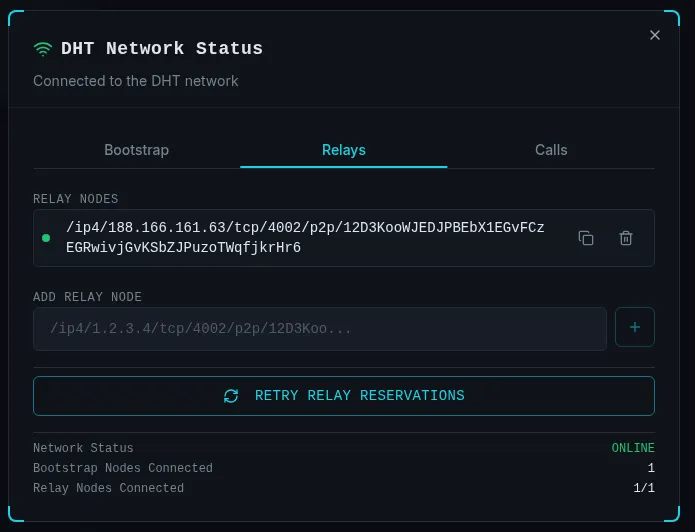
Great! Now do the same thing for the “Relays”, and it should look like this:
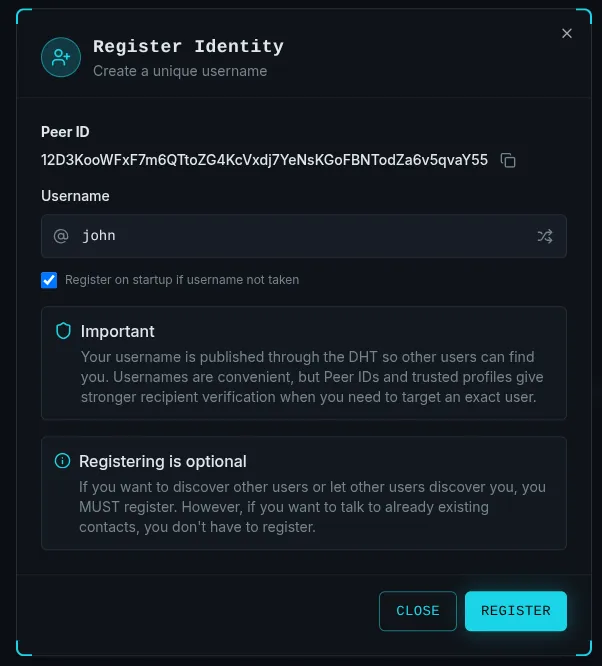
Let’s register ourselves so that we can find people on the network, and that other people can find us. There is an alternative way to connect with people which I explained here (explanation coming on April 1st…), but DHT is much quicker. Click the button left “Register Identity” button and let’s give ourselves a creative name!
Great, we should be registered now! Let’s go contact our friend alice by clicking on the ”+” button in the sidebar’s header and selecting New Conversation. Type in alice’s username or peer ID (shared via third party like whatsapp, viber, bitchat…), compose an inital greeting and hit “Send”. You should see this:
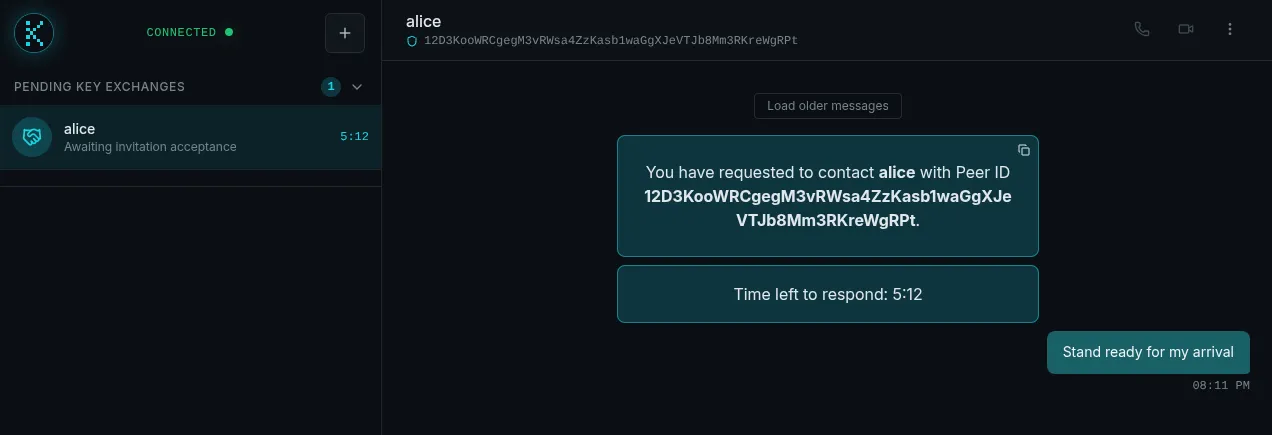
While alice sees this:
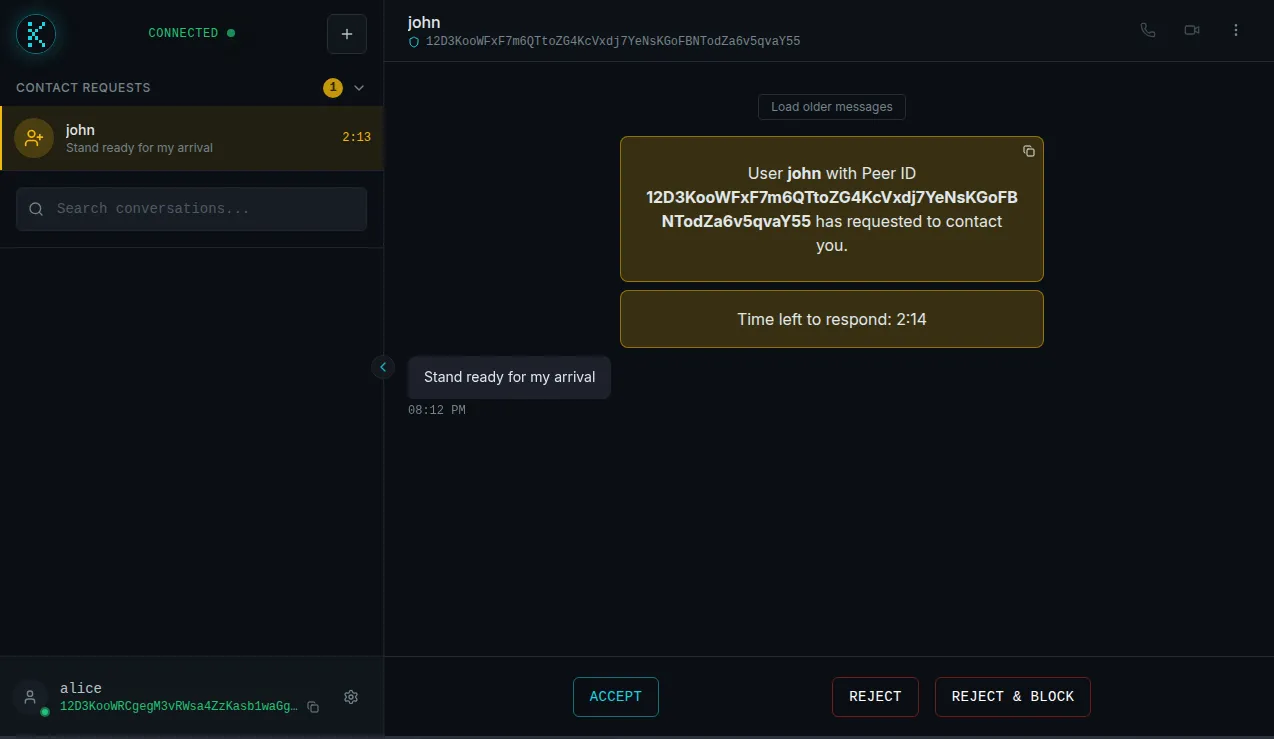
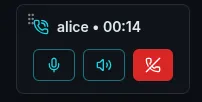
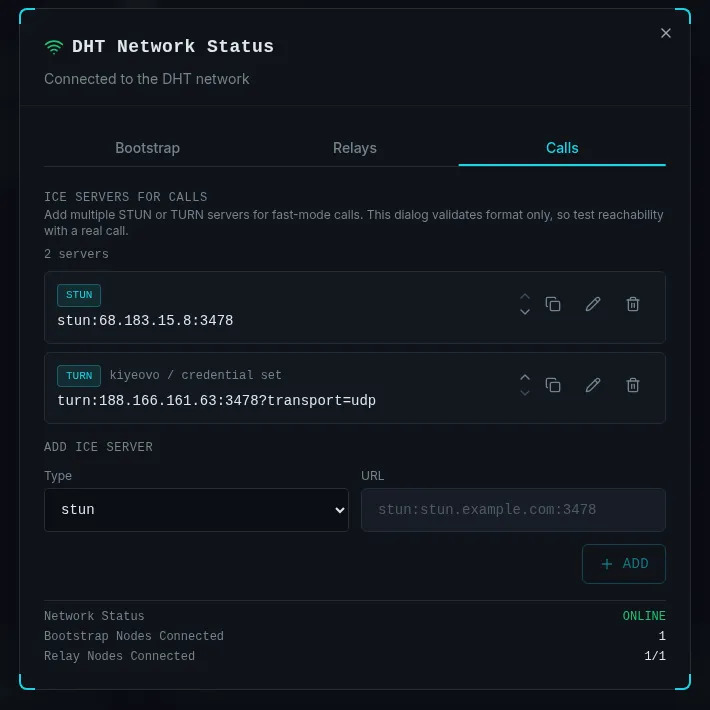
After alice accepts, you can chat with her, create groups with her and have audio/video calls. Since typing is a low bandwidth output action, and we don’t have telepathy yet, let’s try calling her. For calls, we need STUN server, and if our routers are being difficult, we also need TURN servers - so let’s add them. I started a coturn service on the same node that hosts the bootstrap and relay servers, so I will just input that information, like this:
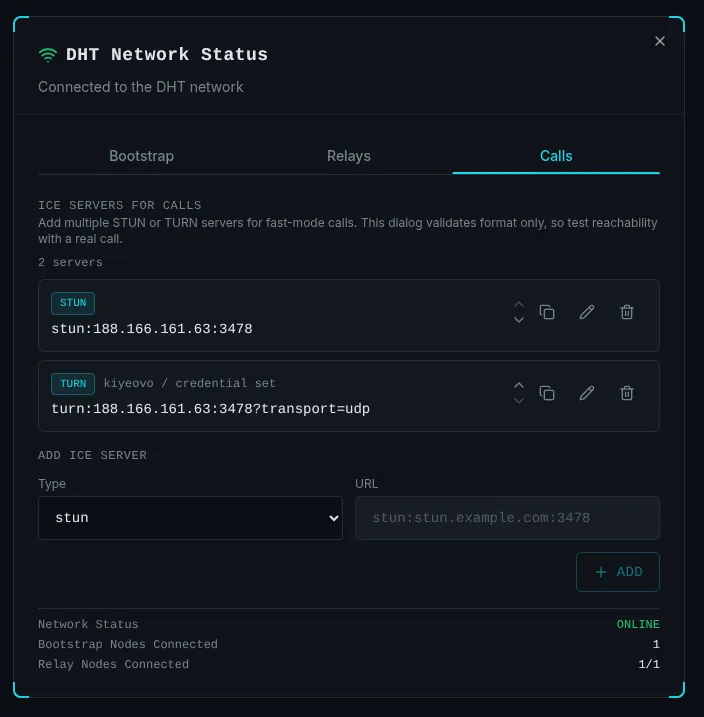
After that, we can call her!
Self-hosting
Fast mode
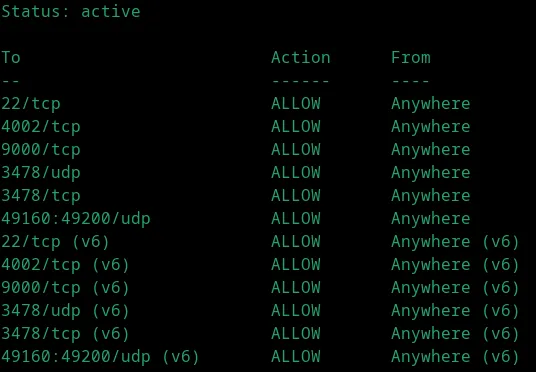
For the purpose of this tutorial, I bought a fresh DigitalOcean instance for a whopping price of $6. After being financially ruined by the previously mentioned purchase, I have set up the firewall - ALLOW TCP on ports 9000 (bootstrap) and 4002 (relay).
If you want to be able to call, you need to also ALLOW TCP and UDP on port 3478 and UDP on port range 49160:49200.
If you’re using ufw, it should look like this after running ufw status:
Great, now it’s easy. Clone the repository and position yourself in it.
Bootstrap and relay nodes
Firstly, Install dependencies
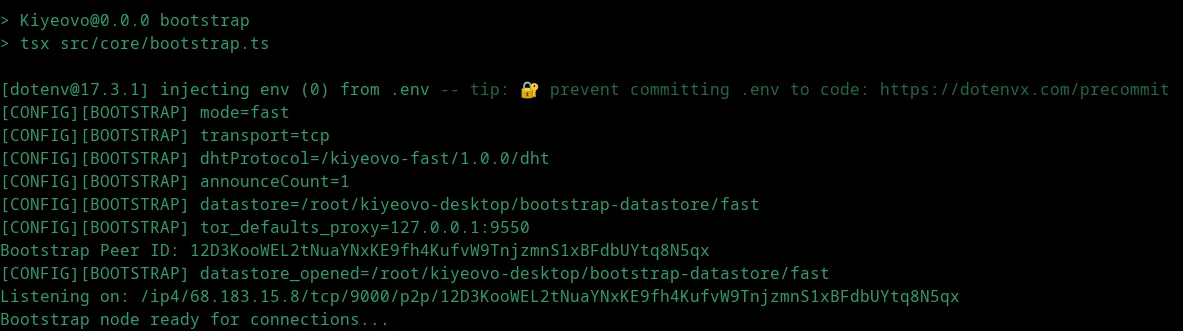
ROLE=bootstrap npm installStart the bootstrap node:
BOOTSTRAP_NETWORK_MODE=fast \
BOOTSTRAP_ANNOUNCE_ADDRS=/ip4/YOUR_PUBLIC_IP/tcp/9000 \
npm run bootstrap
You should see this:
Start the relay node:
RELAY_ANNOUNCE_ADDRS=/ip4/YOUR_PUBLIC_IP/tcp/4002 \
npm run relay
You should see this:
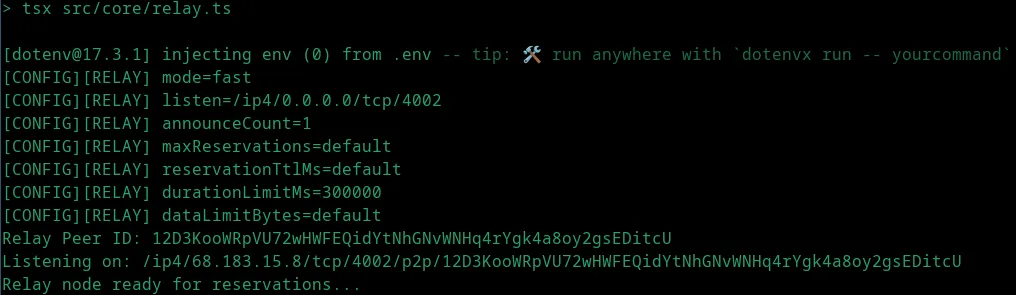
Super! Now you can connect with your client to your bootstrap and relay nodes!
STUN/TURN servers
For enabling calls, we will be using coturn. It depends on your system how you set it up, but for my Ubuntu machine, I installed it using apt install coturn, ran sed -i 's/^#TURNSERVER_ENABLED=.*/TURNSERVER_ENABLED=1/' /etc/default/coturn and configured the turnserver.conf like this:
listening-port=3478
fingerprint
lt-cred-mech
realm=kiyeovo
user=USERNAME:PASSWORD
external-ip=PUBLIC_IP
min-port=49160
max-port=49200
no-cli
and then sudo systemctl enable --now coturn
That should be it! We can now add that server and use it to make calls!
Anonymous mode
You can run both anonymous and fast mode bootstrap nodes on the same machine, but in this tutorial I will show you how to set it up on a completely new machine.
Make sure you have Node version 20 or higher installed. Clone the repository and run the setup inside it with ROLE=bootstrap npm run setup.
Then, install and start a Tor daemon on the host. Example for Ubuntu/Debian:
apt update
apt install tor
systemctl start tor
systemctl enable tor # if you want to enable it on startup
systemctl status tor # verify it's running
After that, configure a hidden service that forwards the public onion port to the local bootstrap listener. Add the below config to /etc/tor/torrc:
HiddenServiceDir /var/lib/tor/kiyeovo-bootstrap/ # you will find your onion hostname here later
HiddenServicePort 9000 127.0.0.1:9001
After changes, restart the tor service: systemctl restart tor and find your onion host here cat /var/lib/tor/kiyeovo-bootstrap/hostname
Great! Now we can start the bootstrap node in anonymous mode:
BOOTSTRAP_NETWORK_MODE=anonymous \
BOOTSTRAP_LISTEN_ADDRESS=/ip4/127.0.0.1/tcp/9001 \
BOOTSTRAP_ANNOUNCE_ADDRS=/onion3/YOUR_ONION_HOST:9000 \
npm run bootstrap
That should be it! Your logs should look something like this:
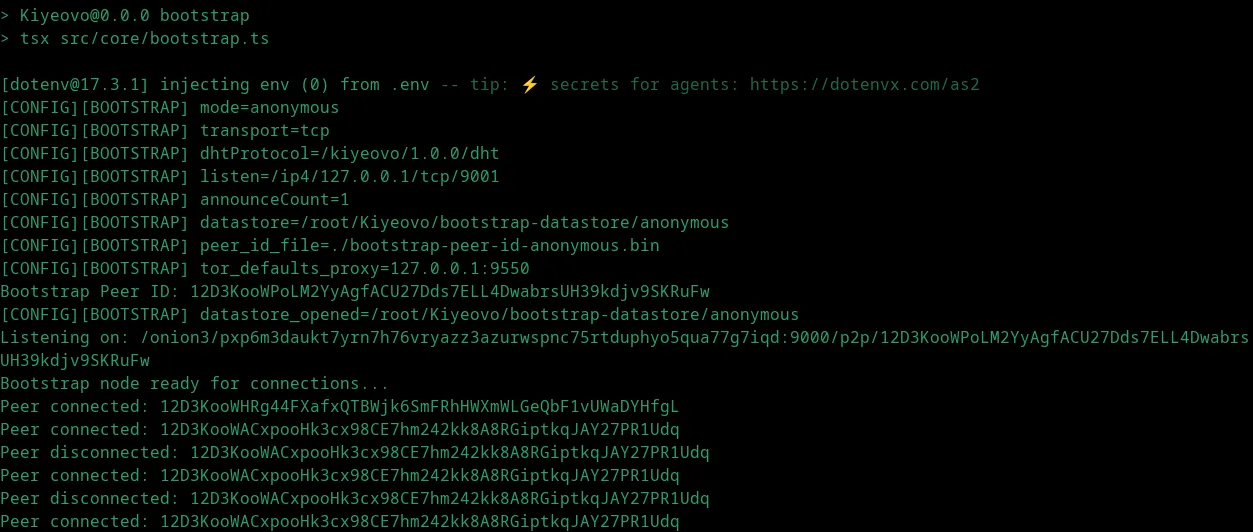
And you should be able to connect to it using your client.